Portrait Photography
Photography Skills
Portrait Photography
Portrait Photography
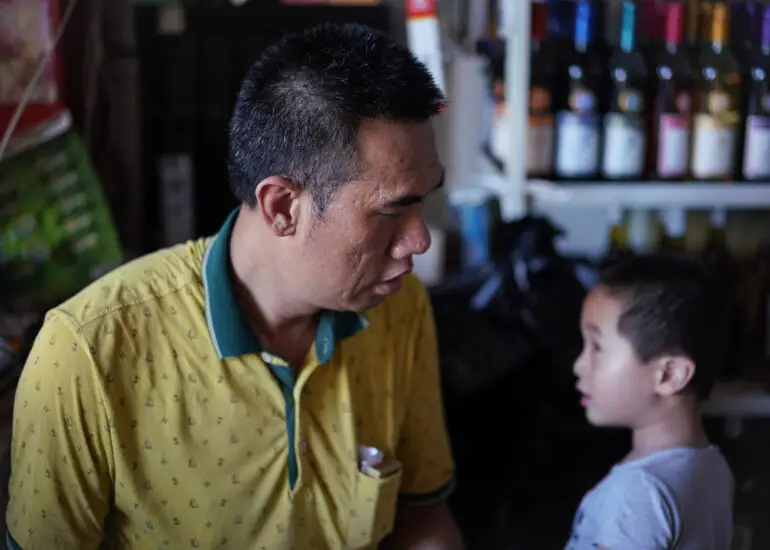
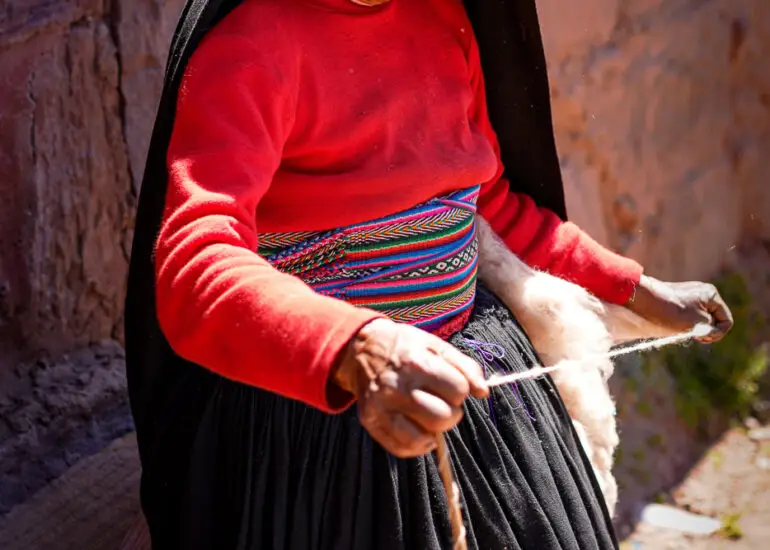
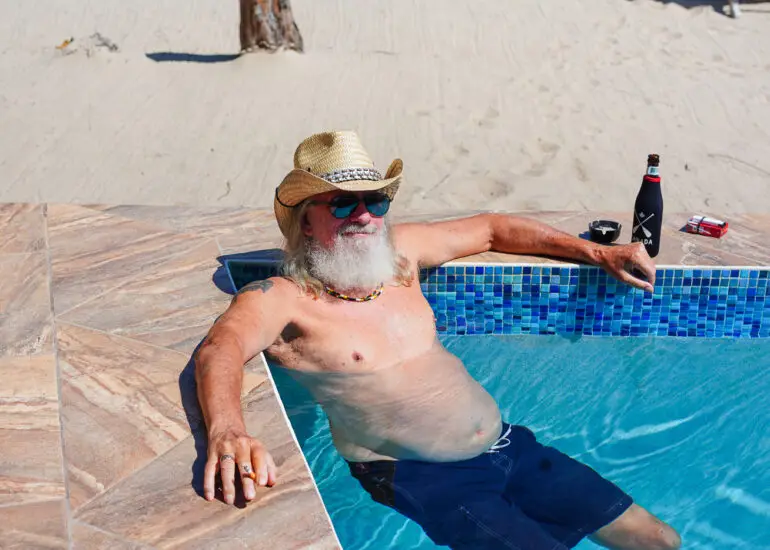
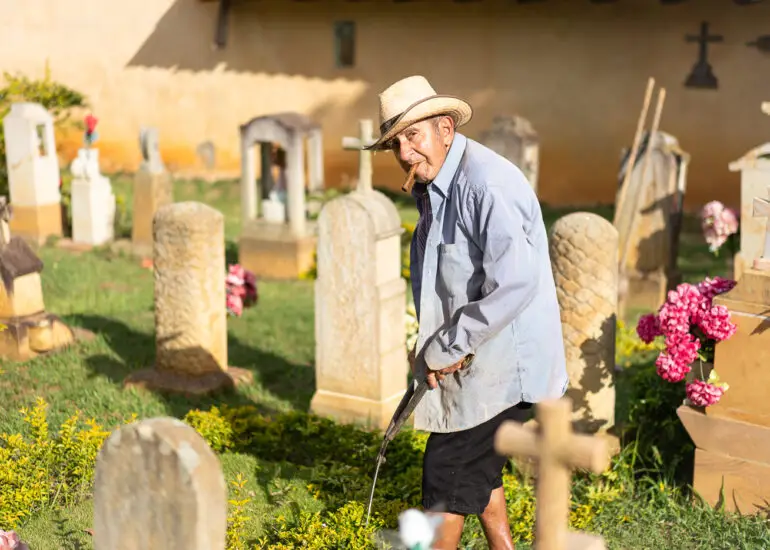
My favorite kind of photography is portrait photography because it enables me to connect with my subjects and tell visual stories about their lives.
When creating portraits, I try to create images that evoke an emotional response in my viewer. As Steve McMurry, who took the iconic image of the Afghan girl for National Geographic writes, “A picture of a guy in the street in New Guinea with a bone through his nose is interesting to look at. But for it to be a really good photograph, it has to communicate something about what it is like to live with a bone through your nose.” I also try to create portraits that tell part of a story and let my viewer complete it.
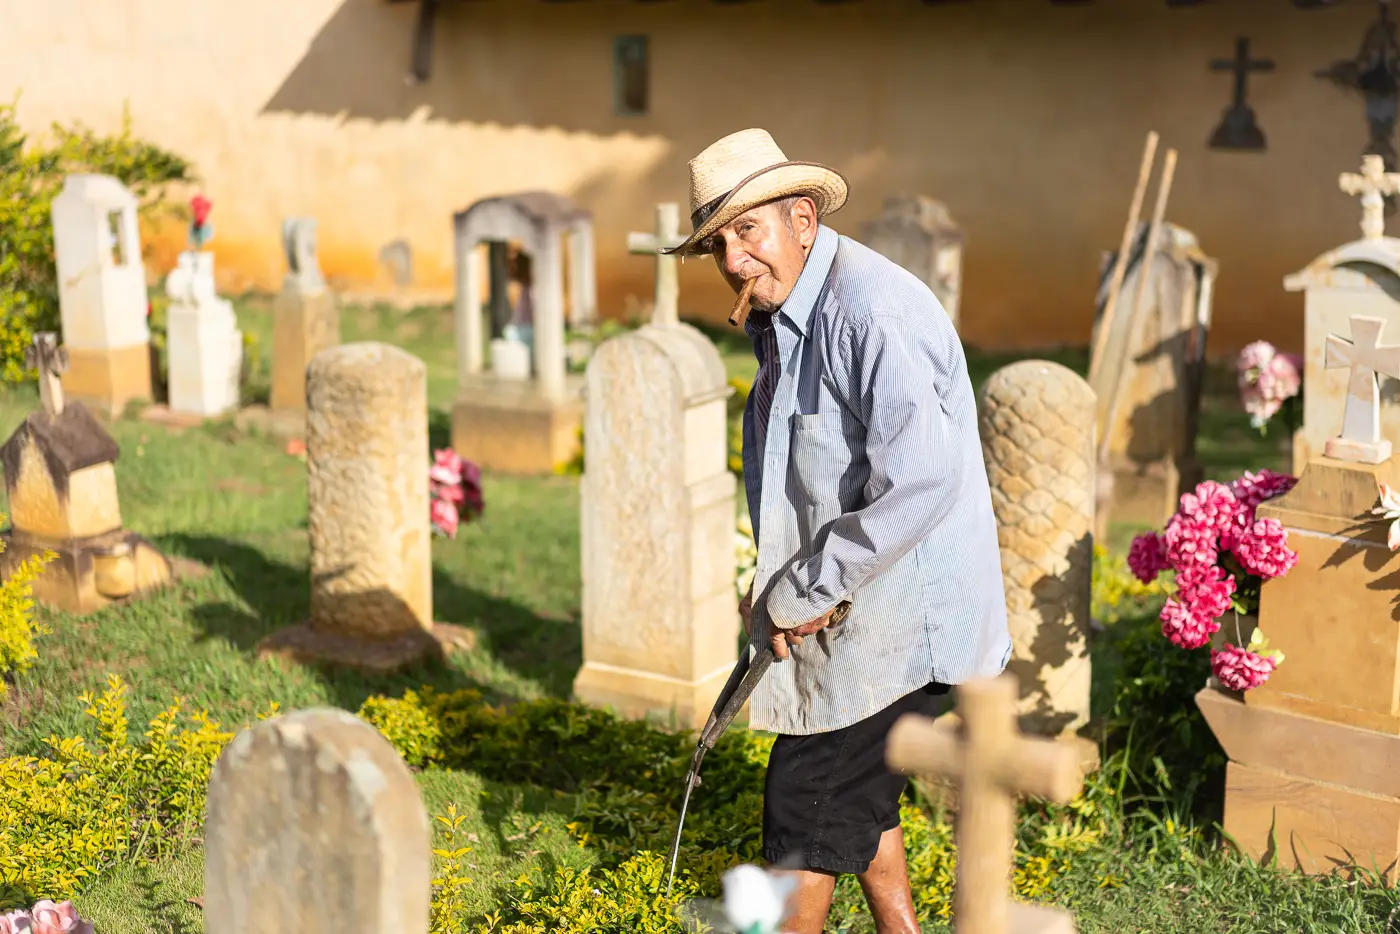
One of the biggest challenges of portrait photography is determining how to get close enough to your subject while still maintaining the authenticity of the story. I use two approaches. The first approach is what Oded Wagenstein describes in Stories and Faces as the “hunter approach” This approach involves approaching the subject and taking a picture of my subject before he or show is aware I am there. The primary benefit of this approach is that it doesn’t change the subject’s behavior. This approach is easier when you are using a zoom lens like a 24-70mm lens, or a telephoto prime lens like a 85mm prime lens.
The second approach that I use is what Oded Wagenstein describes as the “involved approach”. This approach involves engaging with my subject before taking his or her picture. The primary benefits of this approach is that it enables me to control my composition, engage with my subject to learn a bit about his or her story. The primary disadvantage of this approach is that it can have a negative impact on the authenticity and spontaneity of the moment. To prevent this from happening, I often engage with my subject and wait for my subject to return to what he or she was doing and wait for an “unguarded moment” and take a photo. This enables me to capture images that are more authentic and help me tell the story I am trying to tell.
My Portrait Photography Workflow
My portrait photography workflow involves 4 key steps:
- I chose a subject that I am curious about and identify the story I want to tell about the subject, including the emotion I want my viewers to have when they see the image. I try to avoid taking pictures of multiple subjects. If I am creating an image of two subjects, I use focused light or shallow depth of field to isolate my subject in the frame and give my subject a stronger presence).
- I decide what kind of composition I want to use including the angle, background and framing that will help me tell the story I want to tell.
- I decide what shutter speed I want to use to ensure that my subject is sharp. I generally set a minimum shutter speed of 1/125 of a second when shooting portraits but I sometimes bump this up to 1/250th of a second if my subject is moving.
- When using the involved approach, I approach my subject and ask them if I can take their photo in their language. If they say yes, they often pose and I take a few photos of them. Sometimes, I show my subject one of the photos I have taken on my rear LCD screen which makes my subject more comfortable with the process. Then, I wait for my subject to return to what he or she was doing and wait for an “unguarded moment” and take a photo.
Portrait Photography Composition
Composition is critical to getting good photos, and portrait photos are no exception. I use three types of composition:
- Close up portraits – When taking close up portraits, I typically use a 50 or 85mm focal length since wider lenses can distort my subject’s face.
- Classic portraits (of my subject’s face and upper body) – When taking classic portraits, I typically use a 35mm or 50mm focal length and use a wider aperture to blur the subject’s background unless my subject is standing at an angle in which case I use a mid-range aperture to ensure both of his or her eyes are in focus.
- Environmental portraits – When taking environmental portraits, I typically use a 35mm lens to capture more of my subject’s background and either a mid-range aperture to ensure that my viewer can interpret some of my subject’s background or a narrower aperture to ensure that the background is in focus.
I also always ensure that there is enough space around the subject for the subject to move and ask myself whether the background is suitable for the story I want to tell, including whether there are any objects in the background that interfere with my story. If the background doesn’t fit, I either move myself or move the subject.
Portrait Photography Gear
You can use any camera for portrait photography, although it helps to use a camera and lens with great autofocus. I use relatively fast (f/1.4) 35mm and 85mm prime lenses for portrait photography since shooting with these lenses wide open enables me to isolate my subject. However, a fast normal zoom lens like a 24-70mm f/2.8 lens is also a great choice. I generally try to use natural light when practicing portrait photography. However, for certain types of photography, like creating images of subjects in indoor environments, it helps to shoot with a flash.
Our Portrait Photography Resources
Two of my favorite portrait photography resources are:
- Stories and Faces, a great book by Oded Wagenstein
- Dylan Goldby’s videos and short essays
Comments are closed.
adventure.wolves
